

|
MATS: Using any mat for this project, print the EVI! image the size of the mat. Once the ink is dry, lay the print face down on a protected surface. Apply a non-water-based adhesive (sprays are easiest) to the face of the mat, and dry according to the adhesive's directions. When the adhesive is ready, turn the mat face down and carefully line up the edges of your mat with the edges of the printed image. Slowly press into place, smoothing as necessary. Once the print and mat are completely bonded and thoroughly dry, use a sharp edge to follow the mat's inside edges, carefully cutting out the paper. Voila! Instant, customized mat. If the mats are for personal use, no license will be required. If the mats are created to be sold for profit, permission and a license. will be required. TIP: Some photo and mirror frames can also be covered with prints, and there are several methods for achieving an excellent result. Search "how to cover a frame with paper" to discover the method most suitable for your project. 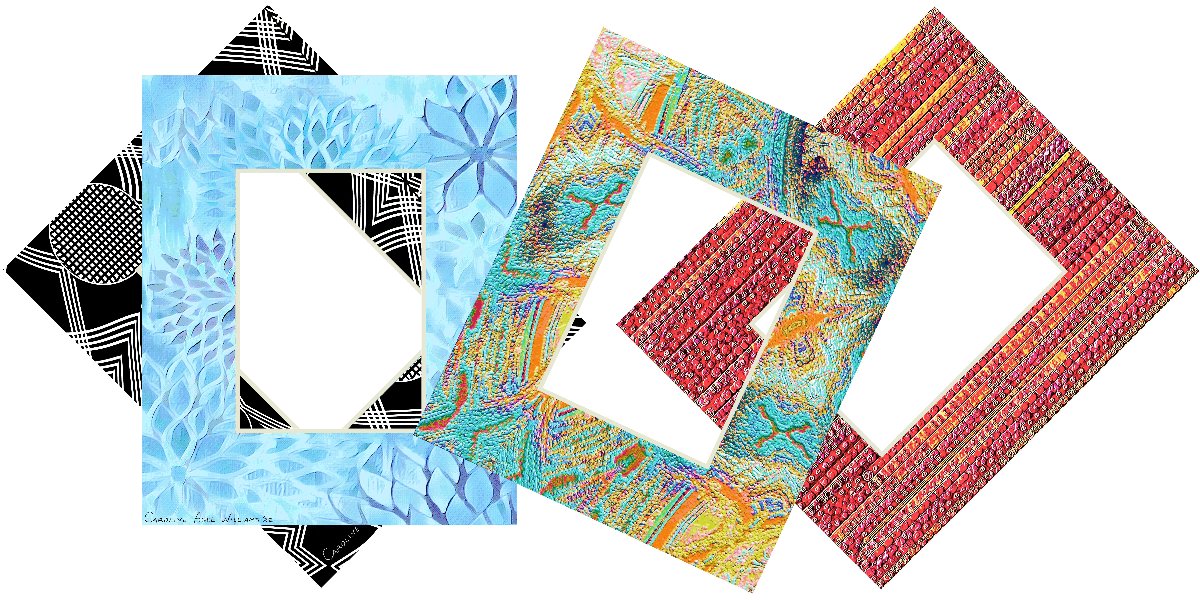 Need posters to announce your event? If you are able to use an app such as Paint, Photoshop, PaintShop Pro, first size the image the length and width needed for the poster (If you had rather not DIY, a printing service will be able to follow the same directions). With the app's rectangular/square selection tool, create an area to clear for the poster text. The size of the area will be determined by how much of the image you wish to leave as a border for your poster. Once decided, select a light background color for the text and clear the selected area. Use the app's text tool to type in the poster's message. Save the poster by any name except the name of the original image to avoid overwriting the original. NOTE: Posters that advertise an event for profit will require permission and a license. 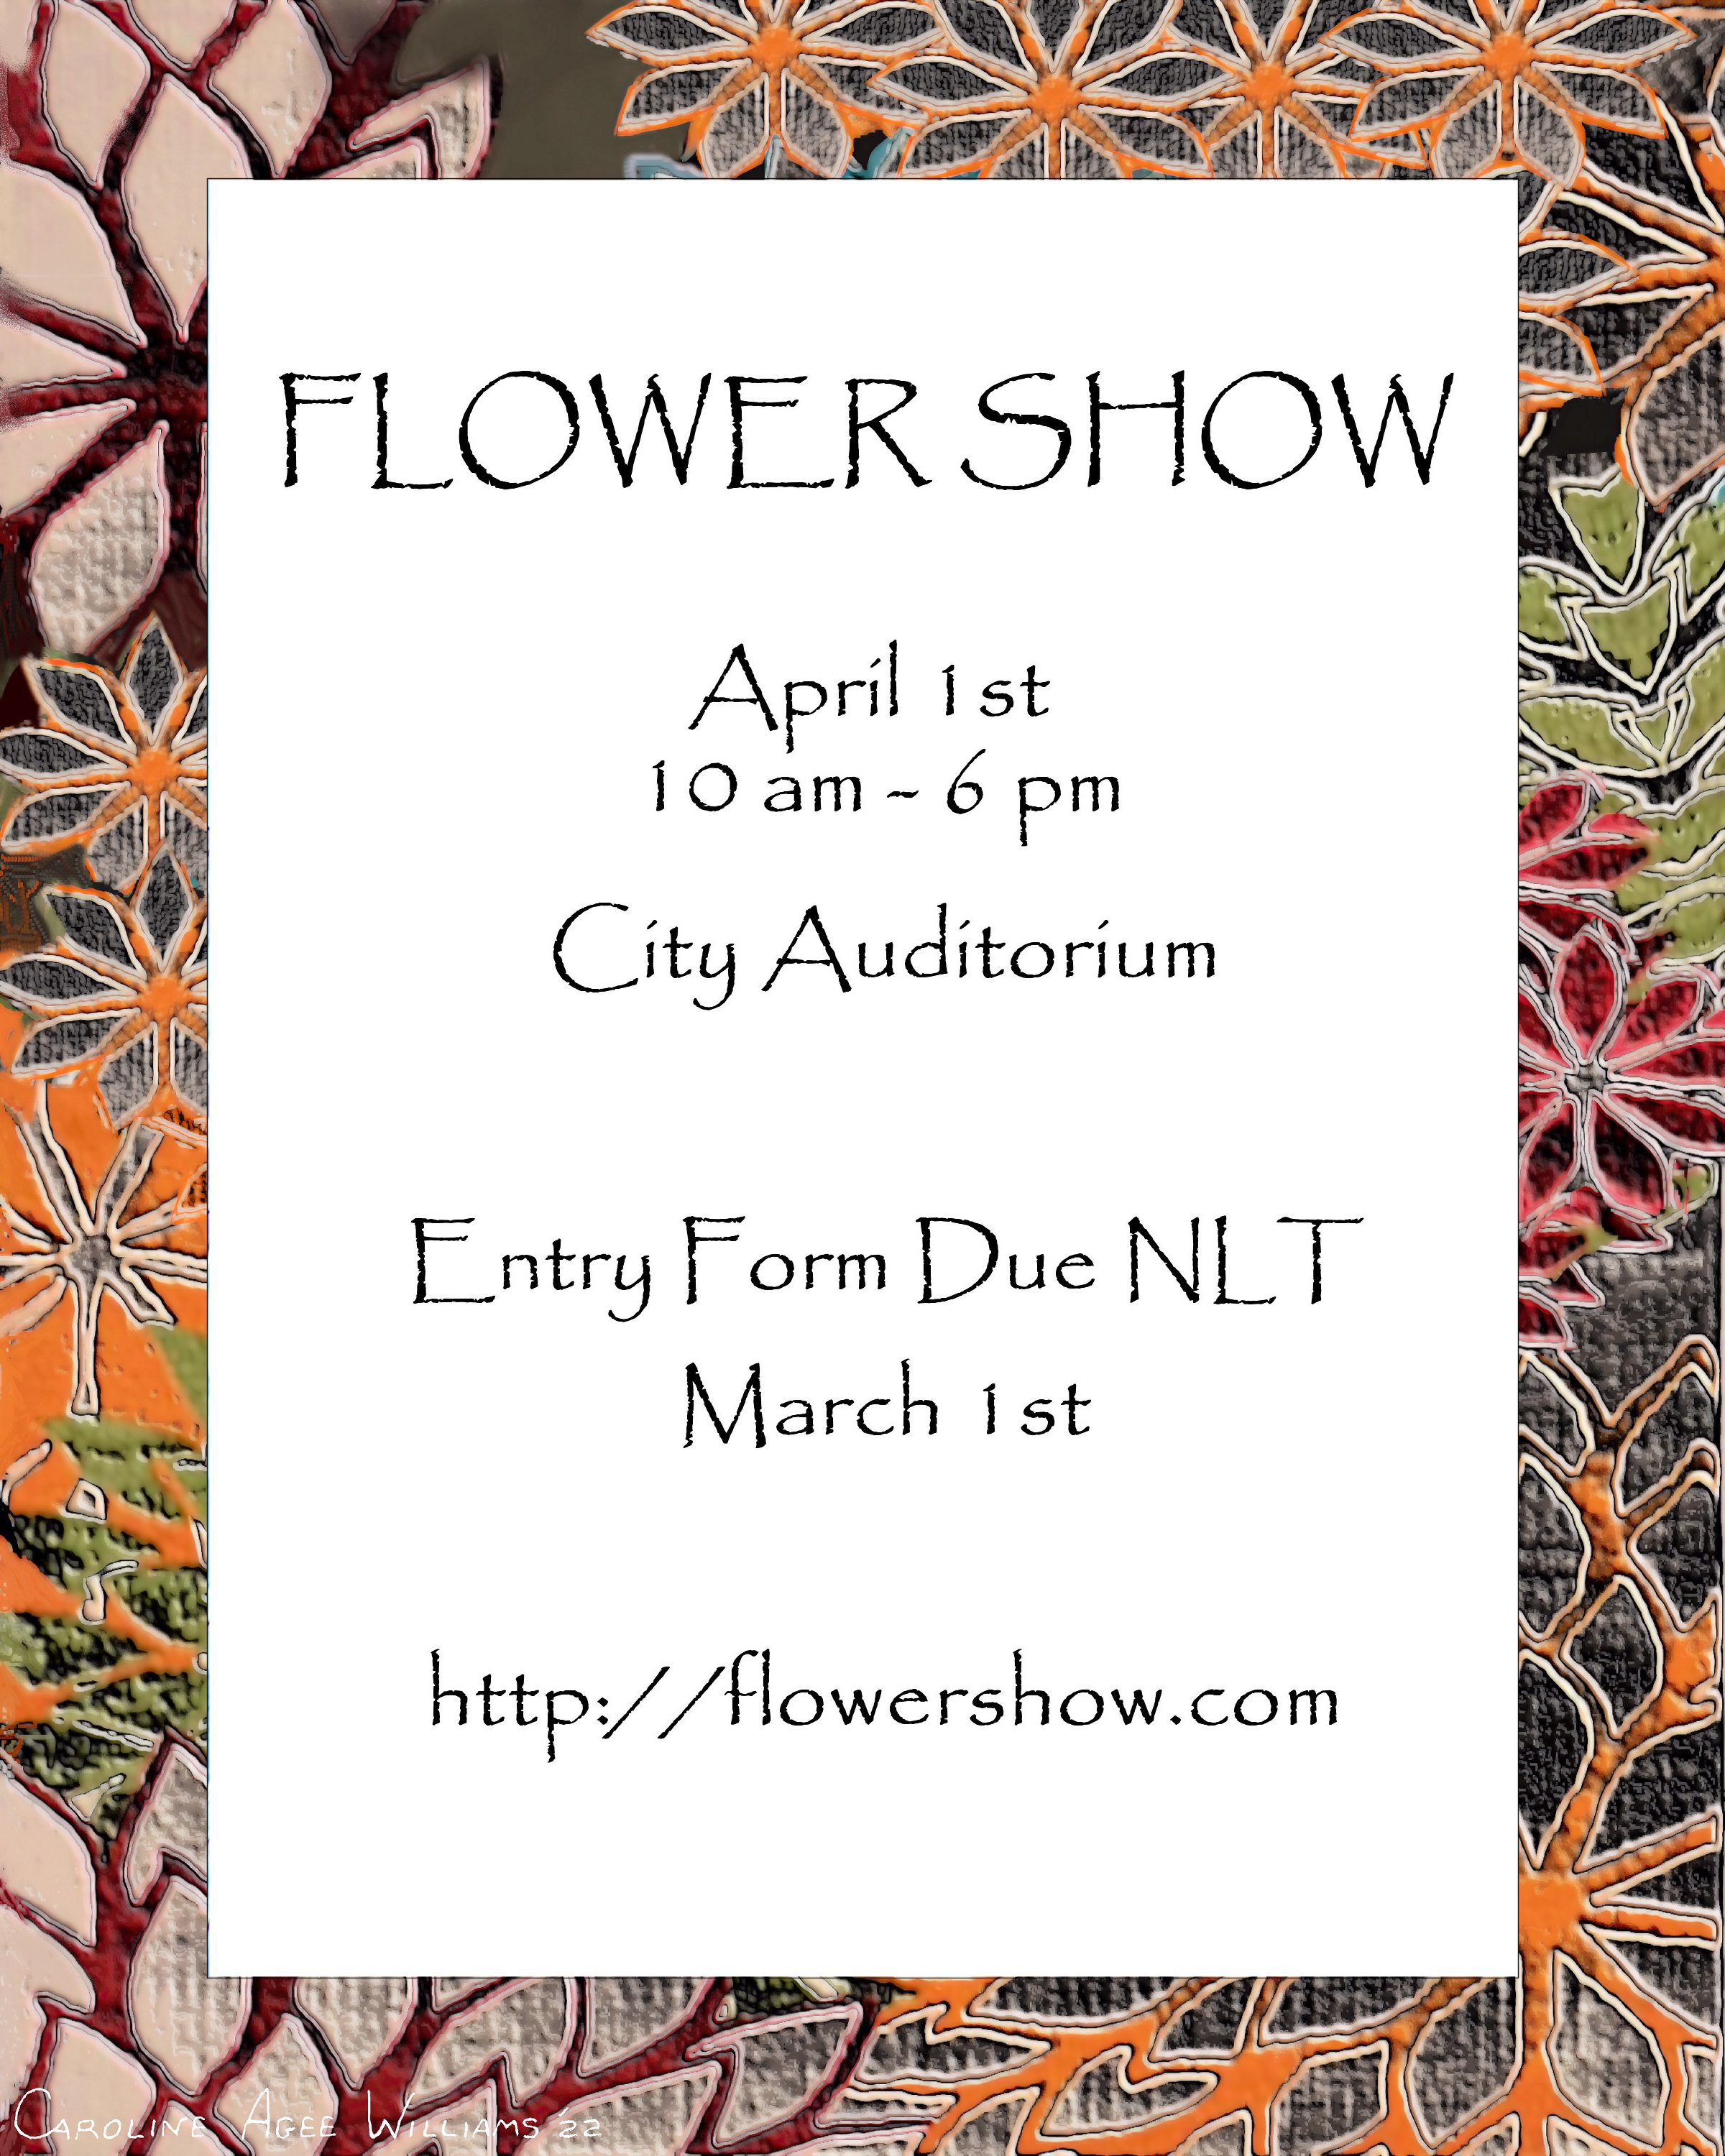 TIP: The same process can apply to business cards, greeting cards, book covers, and invitations. Just End-Vision It! SIMULATE AN OIL/ACRYLIC PAINTING ON CANVAS: Prints can appear textured, even when viewed from a few inches, and it takes a touch test to convince a viewer otherwise. Even so, some Users prefer to feel real texture, and a simple method of embellishing a print on canvas will convince the most skeptical viewer that it is either an oil, or acrylic painting. Materials Needed:
Try toothbrushes, toothpicks, combs, crumbled plastic bags, forks. There are many items available in the average household that can successfully replace dedicated tools. Use your imagination! How to Apply the Texture: NOTE: If you would like to embellish areas of the print with gold, silver, bronze, etc., do so before applying the gel and allow to dry.
Frames: Expensive frames are not a necessity. Try wood strips the width of the side of your canvas and the thickness you prefer. Cut to the length needed for each side, mitering the ends at 45 degree angles to fit together at each corner. Paint or stain if you wish, and affix by any method you wish. There are many instructional documents and videos online to guide you through the process. | |||||||||||||
|